Cacao Latte Tonic
Have you been wanting to kick that coffee habit? As the Chinese proverb goes, “Coffee borrows tomorrow’s energy, to fuel today.” Cacao, known as the “food of the Gods” by the Mayan Kings, is known for energizing and uplifting power. It has a myriad of benefits, which makes for a great morning tonic!
This post may contain some affiliate links. For more information, visit my disclosure page.
Have you been wanting to kick that coffee habit? As the Chinese proverb goes, “Coffee borrows tomorrow’s energy, to fuel today.” Coffee alternatives usually include tea, and although I do love a good matcha or chai tea, sometimes I really want that robust coffee experience that they just don’t have. Cue the cacao latte. Cacao lattes have been sweeping the health scene as a coffee alternative, and for good reason. You can customize it to your liking just like coffee, enjoy the robust and complex flavor profile, without the jitters and crash that coffee has.
Cacao, known as the “food of the Gods” by the Mayan Kings, is known for energizing and uplifting power. It has a myriad of benefits, which makes for a great morning tonic! Not to be confused with cocoa, which is highly processed and looses all the benefits, cacao comes straight from the seed of the cacao plant. Some benefits of cacao:
Cacao is high in vitamins, nutrients, and minerals and is very high in antioxidants.
It is rich in phosphorus, zinc, calcium, and iron which support bone strength. It also contains vitamins B and E.
Cacao also contains high amounts of magnesium which aids in calming and relaxation.
Cacao is considered blood cleansing- it can regulate blood pressure, improve blood circulation, reduce blood clotting, and detoxify the liver.
Cacao contains phenethylamine which is related to the chemical that makes us fall in love, and also helps increase focus and alertness.
Cacao also contains anandamide, which is the feel good chemical that is released after exercise.
Cacao is considered a “prebiotic”, which means it acts as a fertilizer for the good bacteria in the gut, and feeds it to help it flourish.

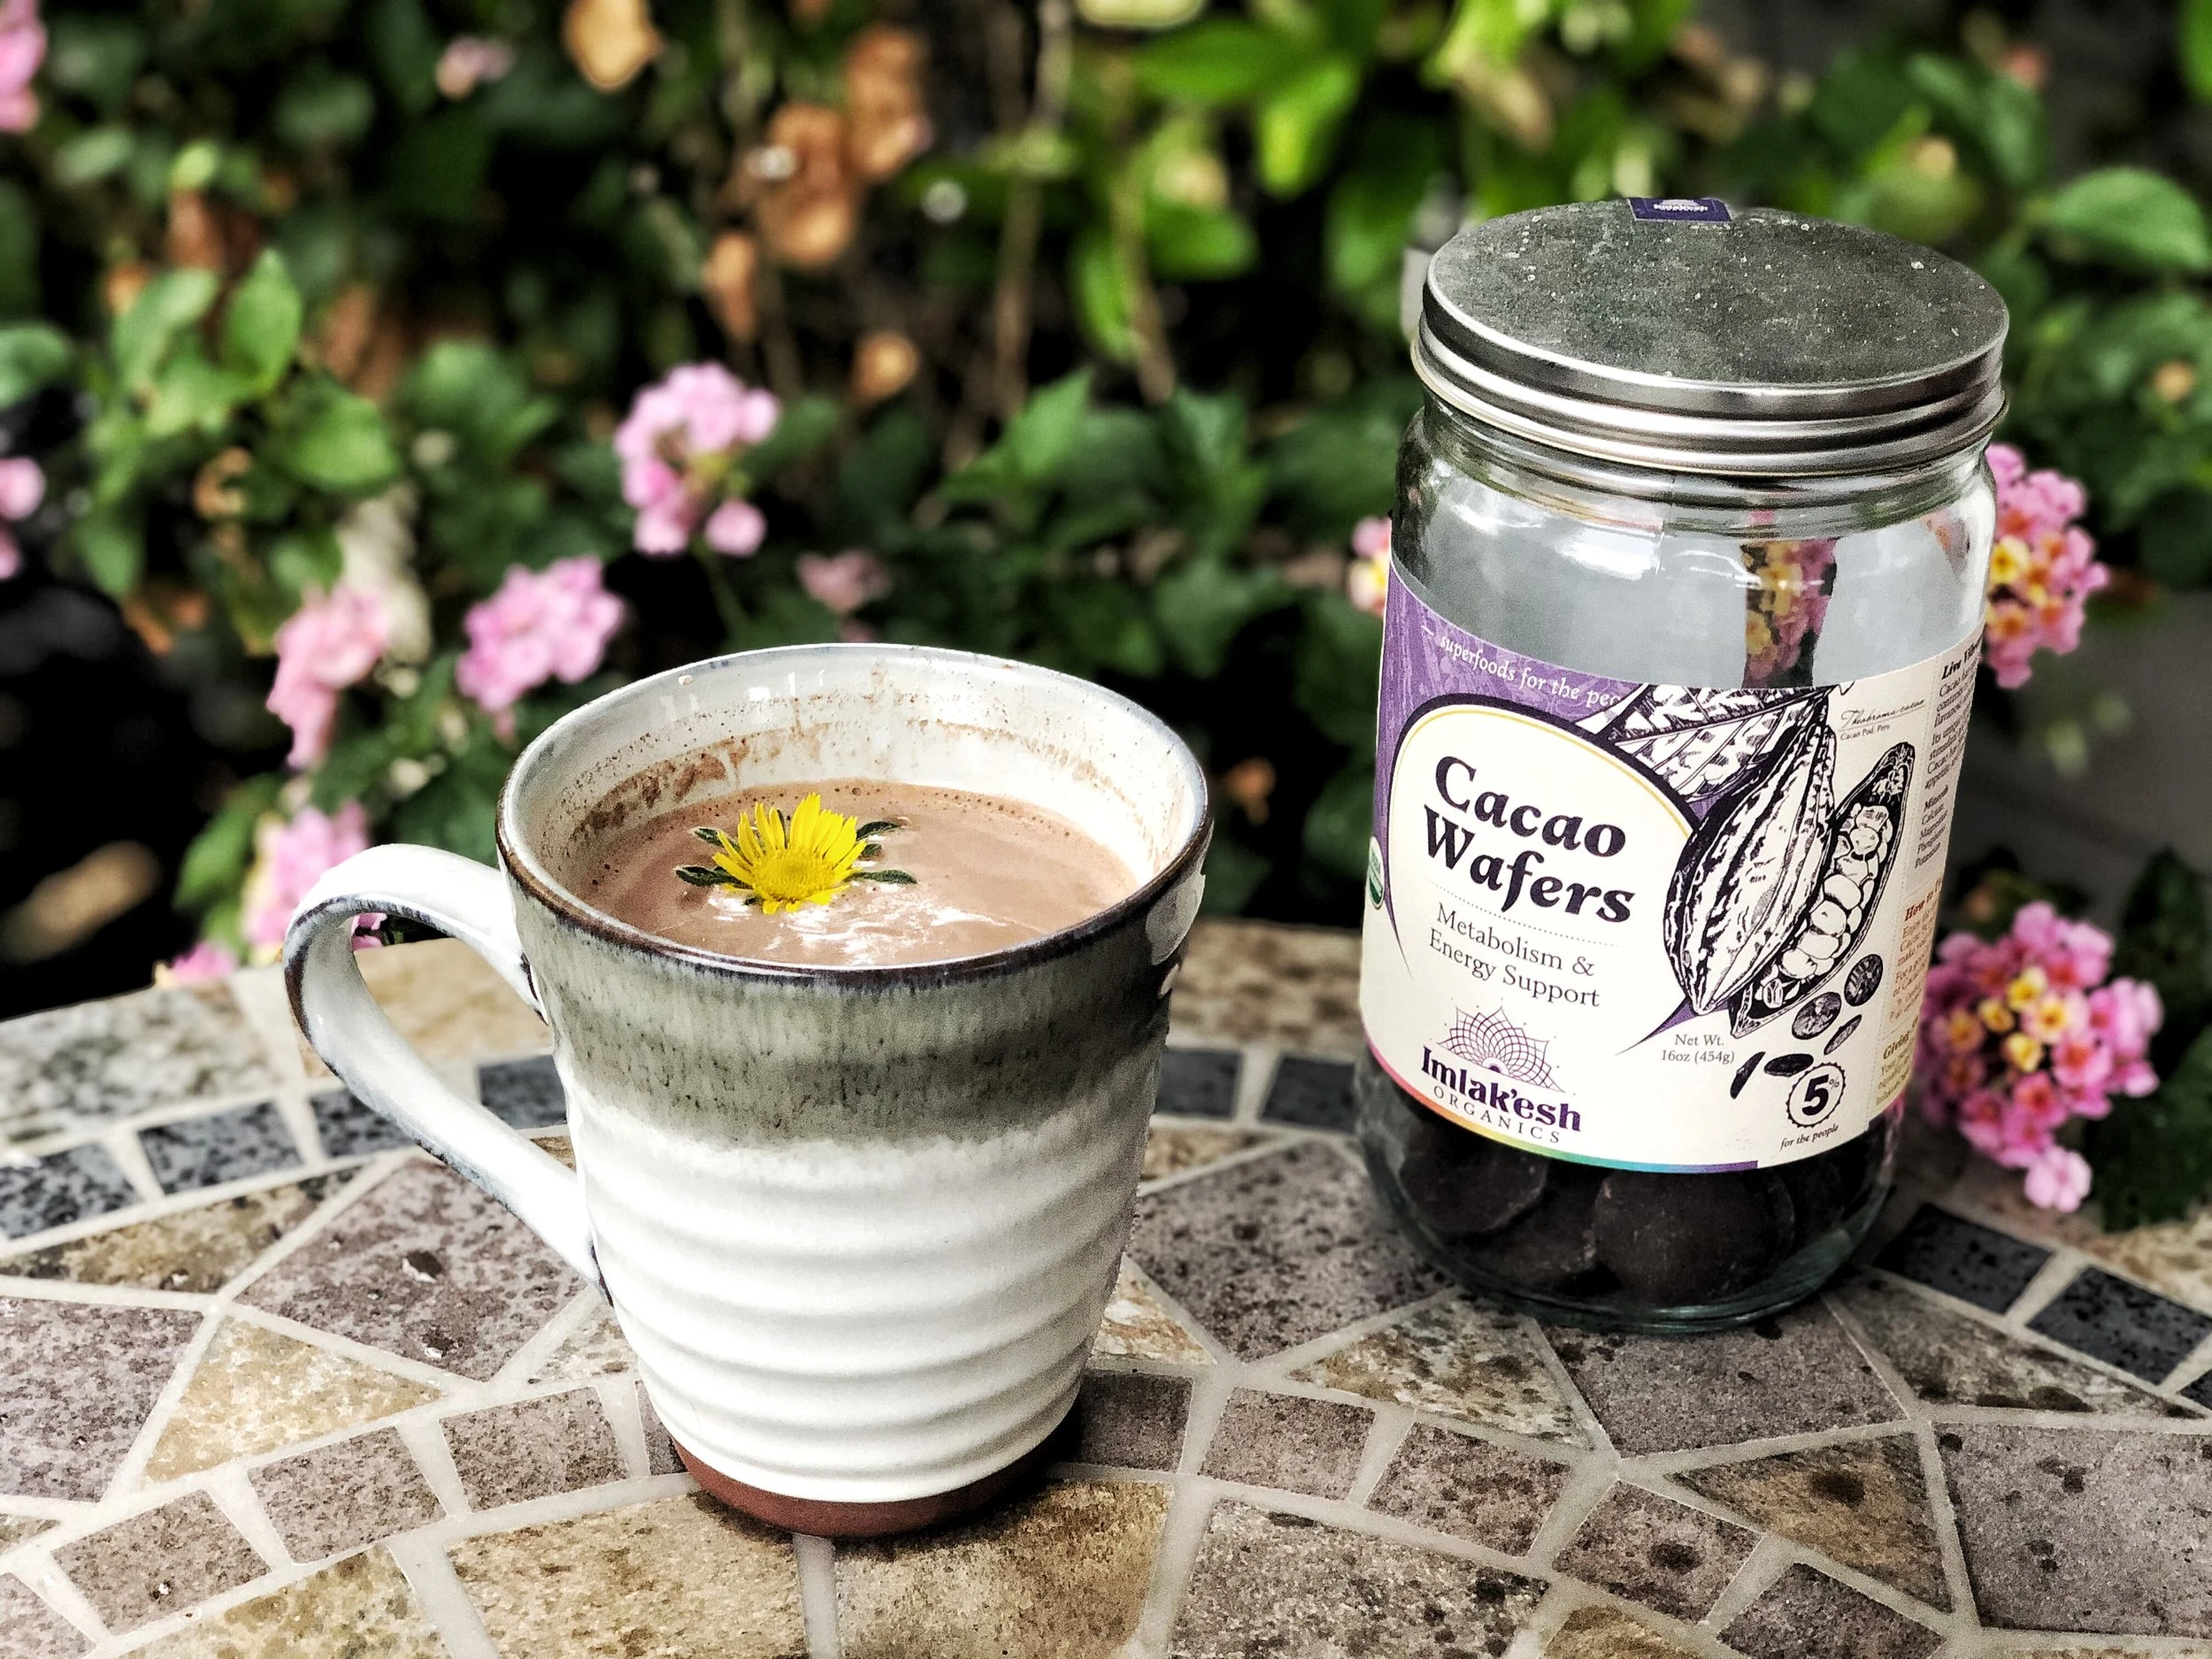
Imlak’esh ceremonial cacao wafers
When shopping for cacao, always look for one that is less processed, no added fillers, and organic if possible. Always check the sourcing.
Since beginning to drink cacao lattes, I’ve since discovered cacao wafers. Cacao wafers are even less processed than powder, and gives a creamier texture. These wafers by Imlak’esh are ceremonial grade cacao, ensuring highest quality.
Cacao Latte Tonic Recipe
My basic cacao tonic!
1 C boiling water
4 Cacao wafers (or a heaping tablespoon of cacao powder)
1 T maple syrup
1/2 C milk of choice
Place hot water, cacao, and maple syrup in a cup, blend with a frother. Add milk slightly warmed, and give a quick stir. Enjoy!
I like to add 1/2 teaspoon of mushroom powder to my tonic everyday. My favorite mushroom powder brand currently is Wild Foods Co. Their mushrooms are of high quality, no added fillers or starches, and only made with the fruiting body. Check them out!
My favorite milks to use are oat and coconut. Oat gives a very creamy, thick chocolate milk-like texture, while coconut adds complexity and bit of tropicalness. I like to use canned coconut milk because of its thick coconut cream.
You can always switch sweeteners to your preference! Have fun with it and find what you like best!
Click here for my favorite cacao wafers
Click here for my favorite canned coconut cream
Click here for my favorite mushroom products
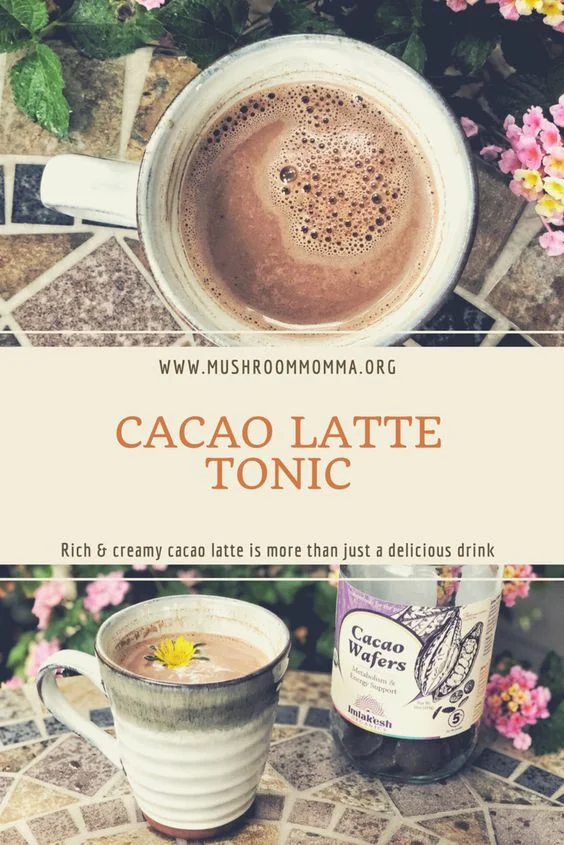
My favorite products (not sponsored, just love them!)
Cacao Wafers- www.imlakeshorganics.com
Mushroom powder- www.wildfoods.co
Two Weeks Thailand and Yi Peng Itinerary
Two weeks Thailand Honeymoon. What we did, where we ate, and where we stayed.
Thailand. Land of Smiles. World’s most beautiful beaches. Need I say more?
When my husband and I were in wedding mode preparing our wedding, the best part was choosing a honeymoon spot. Thailand had been on my bucket list for quite some time, and my husband’s only request was somewhere with amazing beaches to relax on. Done. Thailand had it all, the culture, great food, relaxation, adventure, and beaches. We booked our trip, and I did the planning.
If you’re looking for a well rounded trip to this beautiful country, our itinerary covered it all. It has the city, mountains, and beaches. It has temples, elephants, and we even experienced the sky lantern festival- Yi Peng and Loy Krathong, which was absolutely breath taking. Two weeks is never enough time in such an astounding country, but we fit a lot in in the time we had, and still had time to slow down and enjoy the world’s most breath taking beaches. Our trip included three main places: Bangkok, Chiang Mai, and Ao Nang.

Wat Arun in the Early morning in Bangkok
Two Week Thailand Itinerary
Days 1-3: Bangkok
We arrived in Bangkok after 17 hours of travel. We flew with Eva Air from San Francisco, with one short lay over in Taiwan. We were tired, and a little overwhelmed when we first arrived. It was my first time out of the country without a seasoned traveler by my side, and it was my husbands very first time out of the country, ever! My first tip: trust the local transportation system. I was nervous, and didn’t utilize it enough in Bangkok, which also cost our pockets. The hotel taxis were 10x more costly. When you arrive in the airport, they have such a fluid, well-organized system to get people into taxis, and it’s much, much cheaper to do so. Just use the local taxis, unless you have extra cash to spend.

Eating breakfast at the Royal Orchid right on the river. Icon Siam can be seen across the river.
We stayed at the Royal Orchid Sheraton Hotel and Towers right on the Chao Phraya River. The location was PERFECT. Every room has views of the river, and it includes two pools, and multiple restaurants within the hotel for dining. There was a public boat dock right next to the hotel we used to sight-see and check out the temples, and a private boat dock that takes the hotel guests across the river to the Icon Siam, known as “The Mother of All Malls” (and boy, is it!). There is even some shopping right next to the hotel, too.
Day 1 Travel and rest:
The first day we spent getting our bearings, ate at the hotel, and acclimated to the time change. We arrived in the evening so we didn’t do much.
Day 2 Temple hopping and Husky Cafe:
First on our list was to go temple hopping along the river. We first went to Wat Arun because it opened earliest. We went right when it opened, and we basically had it to ourselves! Wat Arun was probably my favorite temple in all of Thailand we visited. It is breath taking. We then went across the river to Wat Pho which includes the largest golden Buddha. We caught a Tuk Tuk to the Grand Palace. The Grand Palace has a strict dress code, I brought a sarong to cover my shoulders but it wasn’t enough, they require a shirt, so I had to wear my jacket and it was HOT. Men have to wear pants and cover their arms as well. After the Grand Palace, we caught a taxi via GRAB (Thailand’s UBER) and made our way to TrueLove at Neverland, the Husky Cafe. We spent the rest of our afternoon playing with husky’s, while treated to drinks and cake. Afterwards, we made our way back to the hotel and spent the rest of the afternoon swimming and shopping at nearby shops.

True Love at Neverland Husky cafe in Bangkok
Day 3 Sak Yants:
We ventured deep into Bangkok to get Sak Yants, traditional Thailand tattoos. I found Arjarn Fluke via social media due to his style and the fact he uses sterilized needles and new ink. Traditionally these can be done at temples by a monk (and for much cheaper) but I chose an Arjarn so we could have personalization in our tattoos. I also chose to get mine at the beginning of the trip, so I wouldn’t be stuck on a 17 hour flight back home with a fresh tattoo. My only concern was getting in the ocean with a fresh tattoo, but we wouldn’t be at the beach for 7 days so I knew by then it would be fine, and it was!
After the tattoos, we made our way back to the hotel, and in the evening we went across the river to Icon Siam. We could have easily spent a whole day there, it was amazing. There was a concert going on while we were there, lots of food vendors and restaurants, and of course amazing shopping. From upscale (Maserati inside the mall) to H&M, and everything in between. We even got a glimpse of a fashion show going on inside the mall. The whole mall wasn’t even completed yet, there is a top floor that is due to have more restaurants and even a waterfall that was under construction still.

Getting a Sak Yant (traditional Thai tattoo) in Bangkok by Arjarn Fluke
Bangkok was fun, we could have easily spent a few more days there but we really wanted to set off to the other parts of Thailand. Some things we didn’t get to were floating markets, a rooftop bar, and dabbling in more street food and cafes. Next time!
Day 4-8: Chiang Mai and Yi Peng
Landing in Chiang Mai was a breath of fresh air after being in the concrete jungle that is Bangkok. We landed among lush green trees, and caught a taxi up the Mae Rim to our hotel. Chiang Mai is in the northern mountains of Thailand, and harbors the traditional Lanna culture. It is a haven for nature lovers, with many waterfalls, breath taking views, and near by national parks. It also holds over 300 temples.

Poolside at the beautiful grounds at Panviman resort and spa in Chiang Mai
We stayed at Panviman Chiang Mai Resort and Spa. This amazing hotel is buried deep in the mountains, and it very private. The views are phenomenal and the grounds are amazing. The hotel includes a lot of amenities, and was the perfect escape for us honeymooners. Our room even included a private jacuzzi tub on the deck. The only drawback of our hotel was how far it was from the city center. The hotel does offer a free shuttle twice each day to and from the city center, but if you need to get down outside of that time, it’s either very pricey or very time consuming (we caught a local Songateaw down once!)
Day 4 Yi Peng and Loi Krathong.
It was not only the day we arrived into Chiang Mai, it was also Yi Peng and Loi Krathong. We were crunched on time (and we knew we would be) so when we arrived at the hotel, we basically had to check in, freshen up, and head back down the mountain to the city. I will be writing a future post on Yi Peng alone, but Yi Peng was a once in a life time event we will never forget! We scheduled our entire trip based off the timing of Yi Peng. After a lot of research, it was recommended to stay in the city center to enjoy the sky lanterns and floating boats called krathongs, rather than going to one of the tourist spots for the group mass release. Partaking in the more local festival was definitely the way to go. It was surreal walking around the city while thousands of floating stars filled the night sky. It was nothing short of magic.

Releasing our lanterns on the Ping River in Chiang Mai for Yi Peng and Loi Krathong in November
Day 5 rest and cooking:
Up to this point, our trip was packed full. We needed a day of true rest, and we also wanted to enjoy all our hotel had to offer. We explored the spa’s cave tunnels, enjoyed the pool that sat on the side of the mountain, and did a cooking class our hotel offered. It was much needed to rejuvenate and slow down.
Day 6 Wat Phra That Doi Suthep.
Wat Phra That Doi Suthep boasts amazing views of the entirety of Chaing Mai, and is covered in gold from top to bottom. It is located in Doi Suthep National Park, and is a must-do when visiting Chiang Mai. It was simply worth it, we caught a Songteaw to get there. Most don’t want to do the drive, just look for one that has the Doi Suthep photo on the side and flag it down. If they say no, catch the next one. We found one that drove us there and back for half the cost of a one-way taxi. After visiting the temple, we stopped at Green Tiger House as recommended by a friend. It is a hotel, hostel, and includes a plant-based menu. We ate vegan Khao Soi, Thai tea, papaya salad, and more! It looks adorable, definitely on my list for accommodations next time.

Walking up the steps to Wat Phra That Doi Suthep

Elephant Nature Park Saddle off program- Elephant Wellness
Day 7 Elephant Nature Park:
You can’t go to Thailand and not see the elephants. It was crucial to me to find a way to see them ethically (and definitely no riding!!), which brought me to Elephant Nature Park. Elephant Nature park is a rescue and rehabilitation center. The owner, Lek, has a mission to see all elephants out of captivity. Instead of visiting the park, we chose to do one of their “Saddle Off” programs. This is an outreach program to visit a Thai settlement that once raised elephants to sell (as a way to make a living) and now, through this program, can make their income by allowing visitors to their settlement to observe and care for the elephants. We wanted to bring support to these Thai families, and also liked the fact it was in a much smaller group setting than visiting the park would have been, we choose the “Elephant Wellness” program. The day was filled with feeding the elephants, walking them, feeding them again, being served lunch from the Thai family, taking the elephants for a bath, and then feeding them once again, before saying goodbye.
Day 8 Khao Soi and Krabi:
Our final day in Chiang Mai had an afternoon flight to Krabi. Before leaving, I needed one more bowl of Khao Soi, the traditional northern curry noodle soup. I was on a mission to find the very best, and after a little research, led me to Khao Soi Mae Sai. I highly, highly recommend their Khao Soi. My whole meal cost about .50 USD, and I wished I had discovered this gem before the last day. We had a little extra time to spare before our flight, so our taxi driver drove us to a few local temples.

The best Khao Soi (curry noodle soup) at Khao Soi Mae Sai
Chiang Mai was amazing. Our hotel was great for what we wanted, Honeymoon style, but next time around we definitely would want to stay in a hotel in the actual city center, just for the convenience. Some other Chiang Mai attractions we would have liked to do it time allotted includes Chiang Rai, Pai, and visiting the waterfalls.
Day 8-12 Ao Nang
No Thailand trip is complete without visiting its world renowned beaches. When choosing a destination, there are so many to choose from. We wanted something laid back, with still a bit of city life. This lead us to Krabi province, specifically Ao Nang. We stayed at Centara Grand Beach Resort and Villas and could not be happier with our choice. The Centara Grand sits in its own bay, between Ao Nang city and Railay Beach. it was secluded and private, while still being convenient at just a walk away from the little beach town and shopping.

Day 8 Travel Day
By the time we reached our hotel, night time fell. We were treated to cool fruit tea upon arrival to our hotel. When we got to our room, we ordered room service and went to bed.
Day 9 Ao Nang:
We didn’t have as much of an itinerary in Ao Nang, as we wanted to spend this time more laid back, and more “honeymooning”. Our first full day we decided to explore the little beach town of Ao Nang. It has a lot of shopping and delicious restaurants. We started the morning with breakfast at The Coffee Club and grabbed drinks and food as we walked along and shopped. The egg roti’s on the street are a must while in Krabi! We lounged at the private beach at our resort for most of the afternoon, and made our way back to the city for dinner. We ate at The Beach Seafood and Grill and I had the best, most fresh snapper I have had in my entire life. Side note- bring a poncho. We got DRENCHED, it rained for about an hour, which most nights it does.

Private beach at Centara Grand Beach Resort Krabi
Day 10 Island Hopping
This was one of our hardest choices to make. Thailand hosts a plethora of amazing islands to visit, but we wanted to spend just one day island hopping, rather than multiple. We ended up choosing Hong Island tour. In the city of Ao Nang, there are many tourist booths that book the tours. They all seem to be umbrellaed under one main company, all their prices are the same. After talking with the person working the booth, we settled on Hong Island tour of 4 islands by longtail boat. It included a stop off at Daeng Island to snorkle, Lading Island which is a small island that includes lunch, Hong Island which has crisp, white sand and perfect water, and ended with a ride through the Hong island lagoon, or “room”, as hong means room. It was enough of what we wanted. We ended the day by eating at Cheap Cheap restaurant , which was recommended by Mark Weins (I highly recommend his youtube videos for places to eat in Thailand!) I had the deep fried white sanding fish, and it was amazing (and of course, cheap!) I think our whole meal was $3 USD.

Meal at Cheap Cheap Restaurant

Railay Beach
Day 11 Railay Beach:
Our final full day in Thailand. We decided to kayak to the ever so popular Railay Beach. Kayaking was unexpectedly one of my favorite activities we did, I highly recommend it! You get to be so close to the crystal clear water, I could even see schools of fish swimming underneath us. Railay is a popular destination, and has its own small beach town with shopping and restaurants. We ate a late breakfast at one of the beach front restaurants. I had my last plate of Pad See Ew (my favorite stir fry noodle in Thailand) After Kayaking back, we made our way back to town for dinner and to finish up shopping. We ate at Jungle Kitchen, which was highly recommended from locals. We almost didn’t get to, though, as it was one of the few Thai restaurants we came across that required reservations and they told us they were full for the night. Luckily they were able to squeeze us in. The restaurant is adorable inside, with private mini beach shacks under one larger building. We got a few curries and a mango salad (a take on the popular papaya salad, and my favorite!) After dinner we finished shopping, had a final egg roti, and enjoyed the buzzing night life around the town.

Delicious egg roti, my favorite street food
There was so much to do in Krabi, we simply could not hit it all. I wanted to see Khao Sok National Park, but it was a three hour drive from where we were, and basically required an overnight. Some other trips I would have liked to do if time permitted was Emerald Pools, Koh Phi Phi, Monkey Island, and Koh Lanta. We could have easily fit one of these in, but we wanted to slow down in Ao Nang and really soak up the trip. Plus, we have to save things to do for next time we come!

Day 12 travel:
Our final day, and time to head home back to San Francisco. We flew from Krabi to Bangkok, and then traveled on home from there. In retrospect, I wished we would had spent one last night in Bangkok rather than traveling home straight from there. It made for an extremely long day of travel. That’s what traveling is all about though, learning through your experiences!
Thailand, we WILL be back!


Why You Should Care About Your Gut and Our Co-Inhabitants
There is a decline in health all across America. With modern day’s high stress life style, more and more people suffer from a myriad of ailments. Well, 3000 years ago Hippocrates said “All disease begins in the gut”, and this rings true, even today.
There is a decline in health all across America. With modern day’s high stress life style, more and more people suffer from a myriad of ailments including autoimmune disease, heart disease, type-2 diabetes, obesity, allergies, skin issues such as eczema and acne, IBS, constipation, chronic fatigue, brain fog, and more. What is happening, and why are we all just accepting this way of life, and dealing with symptoms like it’s just “the way we are”? Well, 3000 years ago Hippocrates said “All disease begins in the gut”, and this rings true, even today.
Your gut plays a massive role in maintaining our health and mental well-being. We house more than 3,000 species of microbes (more than 3 pounds worth) and a majority live in our intestines. These microbes living in our intestines make up our gut microbiome. The body consists of seven different microbiomes, including the skin, mouth, lungs, and nose. The gut microbiome influences our other microbiomes, and healing the gut influences and is replicated to the other microbiomes. This is why all disease truly does begin in the gut. It is the entry point and connected to every disease. The gut is the foundation of a person’s temple of health.
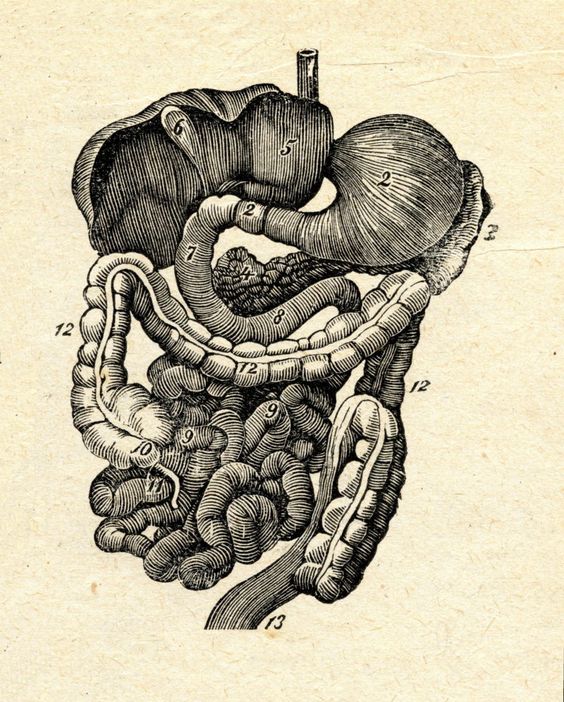
When the gut is in imbalance, this is when disease procreates. Balancing the gut will help with ailments such as bloating, IBS, constipation, stomach pains, and weight management since these all begin in the intestines. Since the gut influences the other microbiomes, healing the gut will in turn help with chronic headaches, exhaustion and fatigue, muscle and joint pain, arthritis, eczema and acne, insomnia, heart disease, allergies, autoimmune disease, type-2 diabetes, respiratory system, immune system, and some even say it can help heal cancer. Not only that, but the gut a major detox organ. It is a toxic dumping ground, all the toxins our body takes in, the gut gets rid of it. Having a healthy gut detoxifies the body and brings it to homeostasis.
The gut also plays a role in our mental health. What is going on in your gut, could affect the brain as well. You know the “gut feeling” you get, when you just know? Well, that is because the gut and brain are truly connected. A large nerve called the Vegus Nerve runs from the brain to the gut. This is why when you are stressed, typically it can be felt in the gut- constipation, stomach pains, etc. The opposite also happens- a bad gut affects brain health and your mental state. An inflamed gut can cause an inflamed brain. Theres also more serotonin receptors in the gut lining than there is in the brain. Serotonin is responsible for your mood , mental health, and happiness. Balancing the gut ecosystem can change the brain.

Sourdough bread. Fermented flour created a natural yeast that gives it its characteristic sour flavor..
How did we get to this state? Number one is antibiotics. Antibiotics can do wonderful things to help heal from terrible diseases, but they are also widely overused. Antibiotics change the composition of the gut, and it can take 6 months to bring it back up. Not only that, research is finding that it never really gets back to its base. With each use of antibiotics, it gets further from its ability to reflourish. Another reason our health has declined is the food we eat. Most of our foods are nutrient deficient and processed. These foods then deplete the gut and it becomes “leaky” or permeable, which affects the blood-brain barrier as well. This, along with stress, causes the downfall of our health.
To heal the gut, we need to give it a diverse range of good bacteria. Lab produced probiotic supplements are the most common, however many cannot survive in the harsh stomach acid in order to get to the intestines, and typically they are only one strain of bacteria rather than a diverse range. When our gut is healthy, it flourishes like a lush garden. Nutrient deficient foods, stress, and antibiotics turn that garden into a barren, lifeless, dirt pile without life. Probiotic supplements are like throwing seeds at the dirt and expecting it to reflourish. Sure, a few things may grow. There will be no diversity, and they probably won't grow very long. Real foods containing beneficial bacteria (probiotics) and microfertilizers (prebiotics) found in nature have a better chance of helping us by supplying a more diverse range of probiotics and delivering them to our colon than lab produced strains of over the counter probiotics. They give the gut what it needs to produce that lush, thriving garden within.
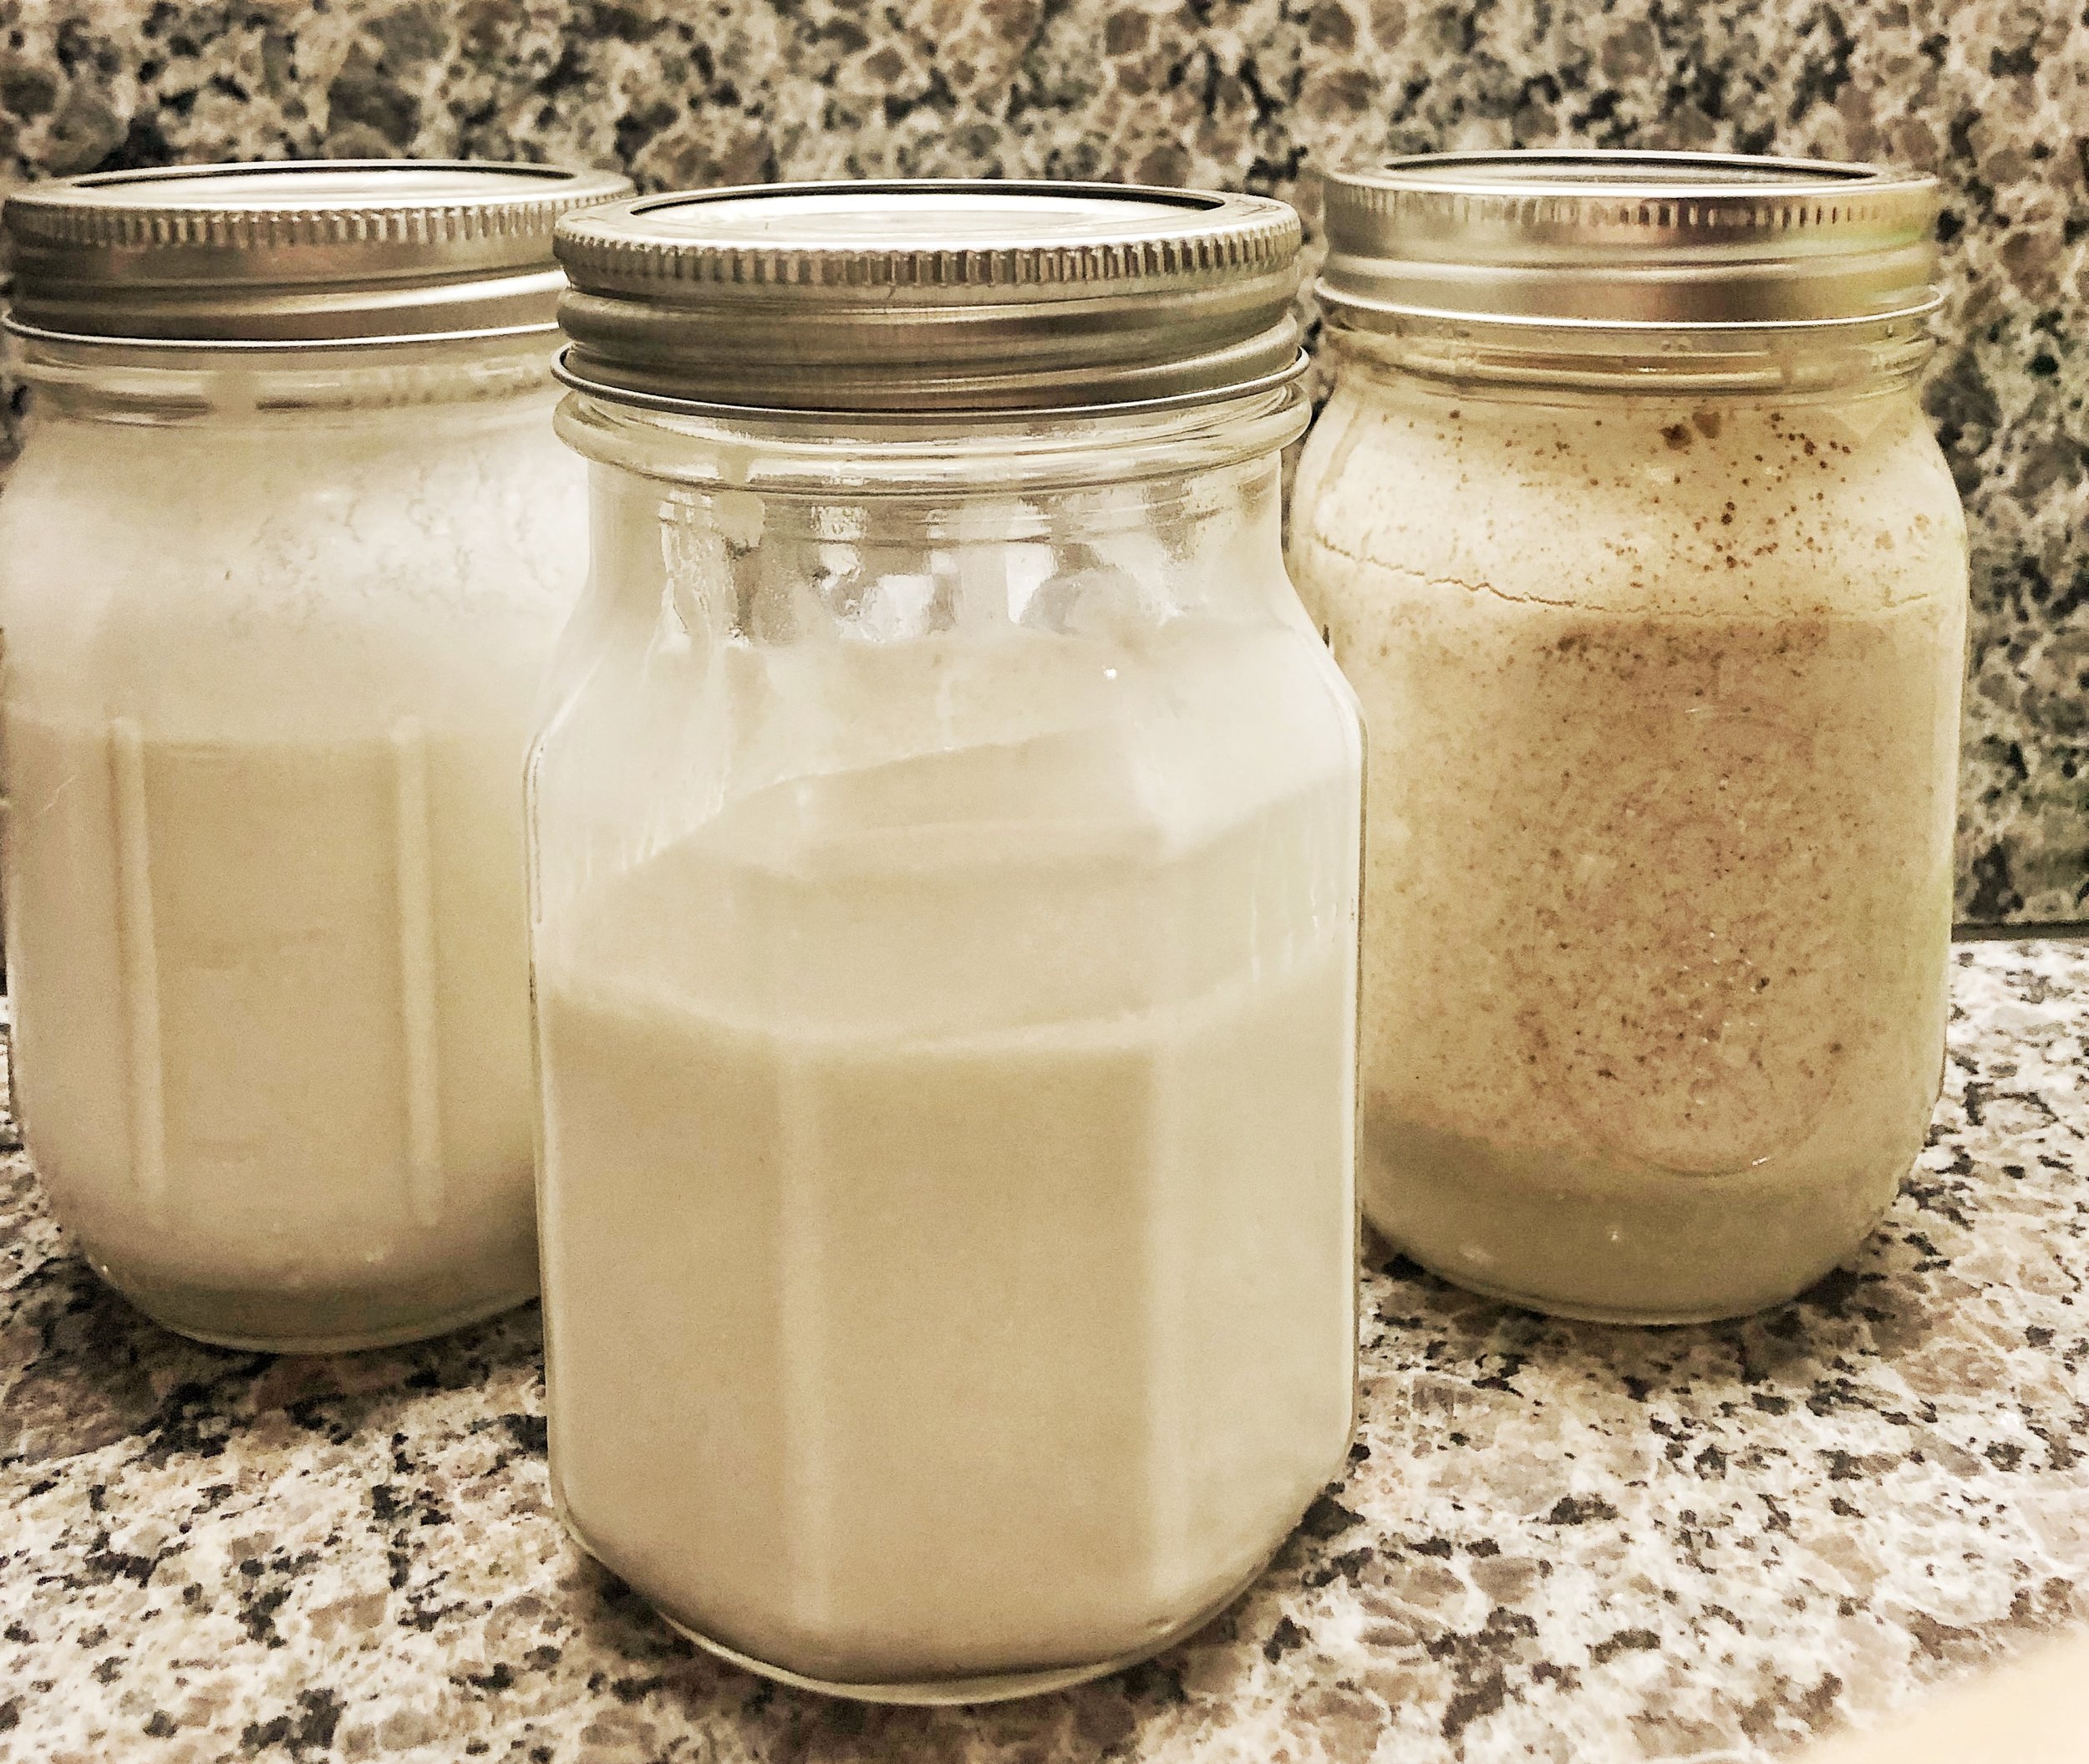
Coconut milk yogurt. Yogurt cultures stirred into coconut milk and left to ferment give it its thick and tangy flavor.
These beneficial bacteria containing foods are known as fermented foods. Fermented foods play a vital role in the restoration and maintenance of good health. They help with the absorption of nutrients in the food we eat, and helps helps produce vitamins B3, B5, B6, B7 (biotin), B9 (folate), B12, and K. These help enhance absorption of minerals, fight off pathogens, digest food, and influence the metabolism.There is evidence of fermentation dating back 9,000 years ago from clay pots. Fermentation has been practiced all across the globe as a way to preserve foods, and make them safe to eat beyond their fresh state. This is due to the beneficial bacteria’s ability to lower the pH and create an acidic environment , which makes it inhabitable for pathogens. Fermented foods may be one of the safest foods to consume, but they take us out of our comfort zone with what we know about food. When you become a fermenter, your role is to create an environment with favorable conditions, and allow your food to sit out and rot, sometimes weeks, while microorganisms enhance your food or beverage. It goes against everything we know about food, you have to break through everything you've been taught, and trust your senses.

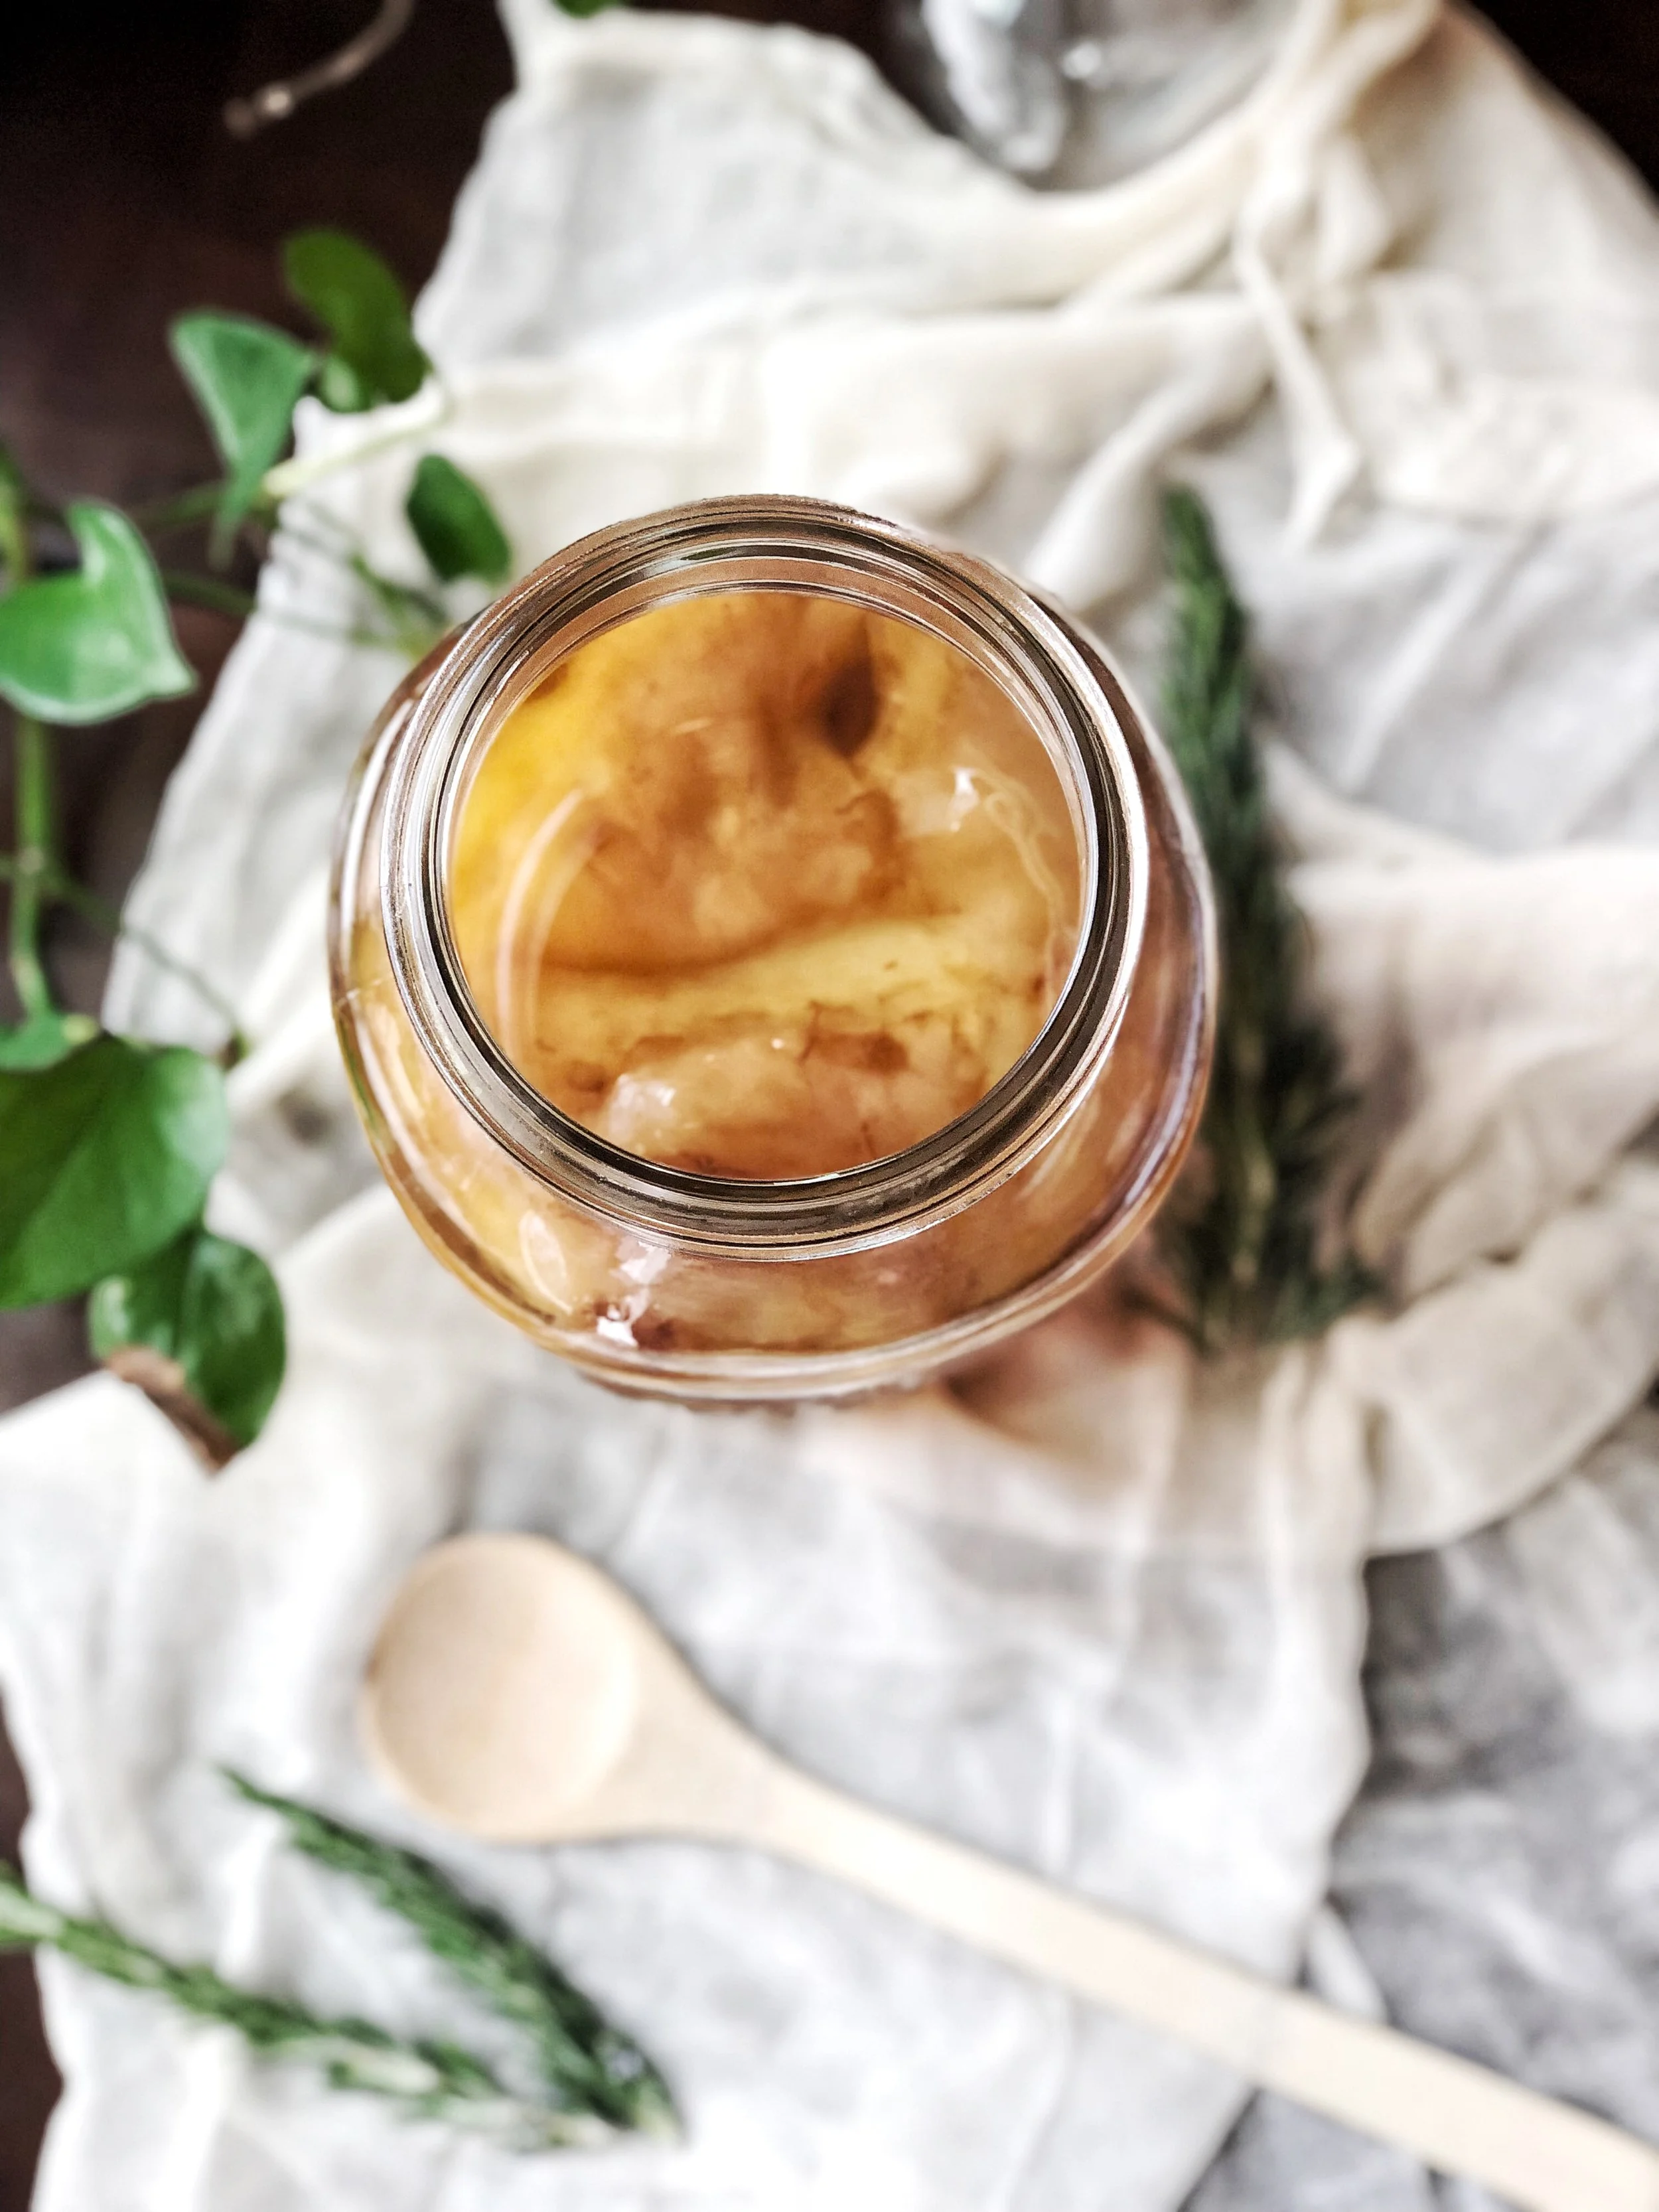
Kombucha, fermented sweet back tea. A SCOBY (symbiotic culture of bacteria yeast) pellicle grows on top as a by product of the fermentation process.
Want to learn how to make your own Kombucha? Click here
Further Reading and Resources:
Ferment By Holly Davis

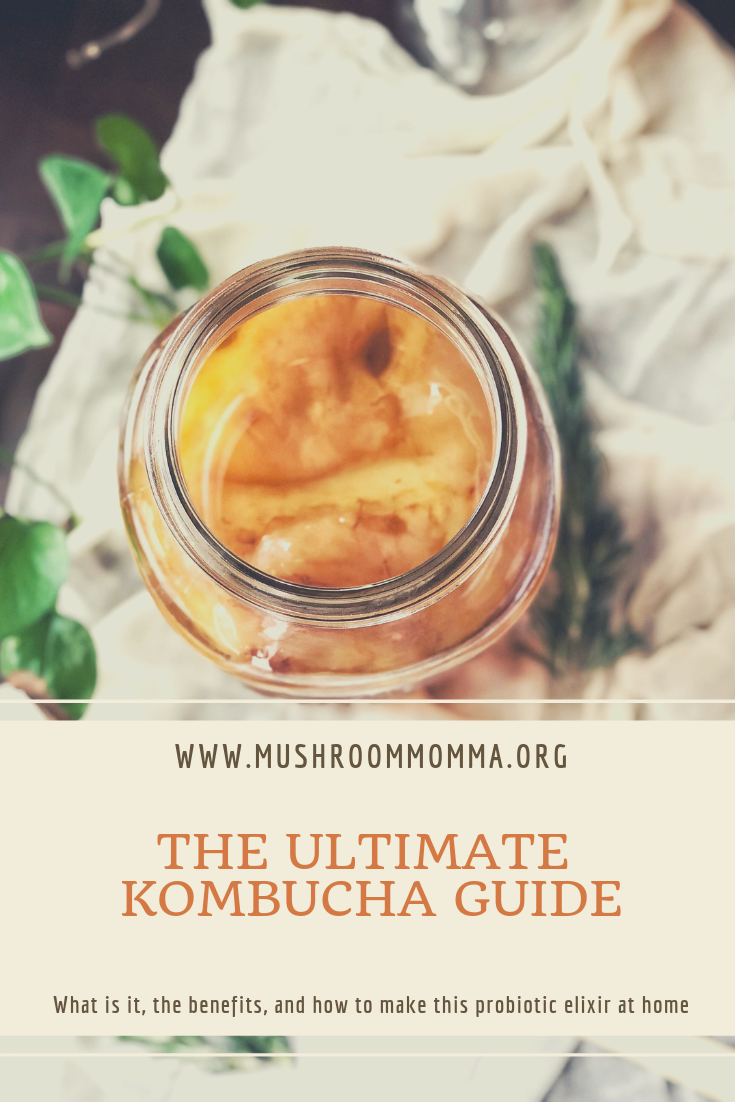
The Ultimate Kombucha Guide
Kombucha. A strange, living, bubbly probiotic drink. What is it and where did it come from? The ultimate guide to this fermented beverage’s history, benefits, and how to make it at home.
This post may contain some affiliate links. For more information, visit my disclosure page.
Kombucha. A strange, living, bubbly probiotic drink. What is it and where did it come from?
Kombucha’s history is a bit unknown. It is said kombucha began in China over 2,000 years ago. It was known as the “Remedy for Immortality” and it has also been called “Elixir of Long Life” and “Magic Juice.” It was later brought to Japan by Dr. Kombu to treat the Japanese emperor, Inkyo, for digestive problems.
It likely traveled down the Silk Road and found its way to Russia in the 19th century where scientific records of kombucha began to appear. There it was known as “Tea Mushroom”. Rudolf Sklenar of Germany, brought the culture to Germany after witnessing it being used to help injured soldiers. It was used in a specific protocol to heal cancer patients, and hundreds of studies were conducted in Russia and Germany from 1920’s -30’s, with most focus on improvements in digestion and diabetes. Kombucha was very popular until WW2, when sugar was rationed making it hard to come by. It had another boost in popularity in the 1960’s when Swiss research confirmed the health benefits of drinking kombucha. It wasn't until the 1990’s that kombucha made its way into stores, before that it was passed around like chain mail and could only be brewed at home.
So, What is it?
Kombucha begins life as a sweet tea and is fermented with a SCOBY, which consumes the sugar in the tea to create the fizzy, probiotic drink. A SCOBY (symbiotic culture of bacteria yeast) is the result of the fermentation process, also known as the pellicle. The living culture within the tea that allows fermentation to happen is known as The Mother. A well nourished Mother can live indefinitely.
The resulting fermented tea contains a range of lactobacillus and acetobacter bacteria, yeast, and other vitamins and enzymes. These include vitamin C, B1, B2, B3, B5, B12, various acids and antioxidants. These provide the body with energy and help it process fats and proteins which are vital for the nervous system.

SCOBY- symbiotic culture of bacteria yeast. The byproduct of the fermentation process.
Why Should I Drink It?
Kombucha, among many fermented foods, has many health benefits. Some anecdotal benefits include:
Substitute for soda
Hunger control
Better digestion and regulates bowel movements.
Supports acid reflex
Nourishing for skin and hair
Boosts immunity and fights off pathogens
Anti-microbial, anti-bacterial, and anti-fungal
Relieves headaches and is a good hangover cure.
Energy booster (especially when brewed with black tea)
Reduces stress
Supports the body and brings it back to balance
Although it is an acidic drink, it is alkaline on the body.
Safe for those with diabetes and candida because the sugars are converted to acids during fermentation
Kombucha’s culture also has detoxifying agents. These neutralize and remove toxins such as pesticides, plastics, resins, and herbicides and eliminates them through the kidneys.
Kombucha is also effective in reducing arthritis and joint pain due to replenishing cartilage and joint fluid from a byproduct of glucuronic acid from the kombucha culture.
Being a fermented beverage, kombucha has a myriad of benefits to healing the gut, and thus healing the whole body. To learn more about the gut, and why you should care about it’s health, click here.

How To Make Kombucha
Makes about 1 gallon
INGREDIENTS
1 Gallon of Water
1 cup sugar (regular granulated sugar works best)
6-8 bags black tea, green tea, or a mix (or 2 -3 tablespoons loose tea)
2 cups starter tea from last batch of kombucha or store-bought kombucha (unpasteurized, neutral-flavored)
1 SCOBY
EQUIPMENT
Tightly woven cloth (like clean napkins or tea towels), coffee filters, or paper towels, to cover the jar
INSTRUCTIONS
Note: Avoid prolonged contact between the kombucha and metal both during and after brewing. This can affect the flavor of your kombucha and weaken the scoby over time.
Kombucha has two phases: F1 and F2. F1 is known as the first ferment. It is sweet tea, starter, and SCOBY and produces an unflavored, tangy brew with slight carbonation. F2 is optional, and is known as the second ferment. F2 includes bottling, flavoring, and producing more carbonation.
F1:
Make the tea concentrate: Bring 4 cups of water to a boil. Remove from heat and stir in the sugar to dissolve. Drop in the tea and allow it to steep 10-20 minutes. Strain tea concentrate into a gallon jar and add the rest of the body.
Add the starter tea and SCOBY: Once the tea is cool (under 95 degrees) stir in the starter tea. Be sure to not add starter to hot tea. (The starter tea makes the liquid acidic, which prevents unfriendly bacteria from taking up residence in the first few days of fermentation.) Gently slide the scoby into the jar with clean hands. Cover the mouth of the jar with a few layers tightly-woven cloth, coffee filter, or paper towel secured with a rubber band.
Ferment for 7 to 14 days: Keep the jar at room temperature, out of direct sunlight, and where it won't get jostled. Ferment for 7 to 14 days, checking the kombucha and the scoby periodically.
It's not unusual for the scoby to float at the top, bottom, or even sideways during fermentation. A new cream-colored layer of scoby should start forming on the surface of the kombucha within a few days. It usually attaches to the old scoby, but it's ok if they separate. You may also see brown stringy bits floating beneath the scoby, sediment collecting at the bottom, and bubbles collecting around the scoby. This is all normal and signs of healthy fermentation.
After 7 days, begin tasting the kombucha daily by pouring a little out of the jar and into a cup or using a stainless steel straw. When it reaches a balance of sweetness and tartness that is pleasant to you, the kombucha is ready to bottle.
Remove the scoby and set aside 2 cups of starter for the next batch.F2 (optional): Process of adding to bottles, adding more sugar (fruit) and seal up to produce carbonation. The fruit gives yeast more sugar to eat and convert into carbondioxide. Since its sealed, carbon dioxide gets trapped in the liquid and makes it bubbly. Bottle the finished kombucha: Pour the fermented kombucha (straining, if desired) into bottles using the small funnel, (or use a pitcher) along with any juice, herbs, or fruit you may want to use as flavoring. If wanting to add a non sweet flavor such as herbs or fragrant teas, bottle when the brew is still on the sweet side, to ensure theres enough sugar for the yeast. Add up to 1/4 of the bottle with fruit, juice, or desired flavoring, fruit can be cut in chunks or pureed, pureed fruit allows the yeast to access the sugars better however, which allows for more fizz. Leave about a half inch of head room in each bottle. Dry the tops of the bottles completely before capping. Use a rubber gripper to tighten to no air escapes.Carbonate and refrigerate the finished kombucha: Store the bottled kombucha at room temperature out of direct sunlight and allow 1 to 3 days for the kombucha to carbonate. It’s a good idea to put them in a box to prevent a mess incase one explodes. Refrigerate after 1-3 days to stop fermentation and carbonation.
Make a fresh batch of kombucha: Combine the starter tea from your last batch of kombucha with the fresh batch of sugary tea, and pour it into the fermentation jar. Slide the scoby on top, cover, and ferment for 7 to 14 days.F3 (optional):Doing an F3 can improve carbonation and add more complexity to your kombucha. F3 entails straining out the fruit, and allowing the bottled brew to ferment 1 more day. It is not necessary, only a preference for some. If F2 produces a lot of carbonation but you want to strain out the fruit, chill before opening to prevent fizzing over.

Kombucha during F2, or second ferment.
NOTES
SCOBY: It is normal for the scoby to float on the top, bottom, or sideways in the jar. It is also normal for brown strings to form below the scoby or to collect on the bottom. If your scoby develops a hole, bumps, dried patches, darker brown patches, or clear jelly-like patches, it is still fine to use. Usually these are all indicative of changes in the environment of your kitchen and not a problem with the scoby itself. A new SCOBY will form with every new brew. You can keep them in the same brew, the more SCOBYS the faster the tea will ferment.
Covering for the jar: Cheesecloth is not ideal because it's easy for small insects, like fruit flies, to wiggle through the layers. Use a tightly woven cloth (like clean napkins or tea towels), coffee filters, or paper towels, to cover the jar, and secure it tightly with rubber bands or twine.
Putting Kombucha on Pause: If you'll be away for 3 weeks or less, just make a fresh batch and leave it on your counter. It will likely be too vinegary to drink by the time you get back, but the scoby will be fine and the tea will make a strong starter. For longer breaks, store the scoby in a fresh batch of the tea base with starter tea in the fridge or in a “hotel”.
SCOBY hotel: A SCOBY hotel is a vessel used to house extra accumulated scouts and starter tea. This allows for back-up tea and scobys, and also allows for a break from brewing. You can place a lid on the jar and store in the fridge, or keep it out and just feed a bit of sweet tea every few weeks.
Other Tea Options: Black tea has the most tannins, creating a more robust flavor and is the most reliable. Other teas can be used too. Green tea, white tea, oolong tea, or puh-er. Other flavors can be experimented with but use an extra scoby. These include herbal teas, rooibos, or even coffee (Koffucha). Avoid any teas that contain oils, like earl grey or flavored teas.
Alcohol Content: It could contain .5%-2.5% alcohol depending how it was made and for how long it fermented. If bottled while sweet, it could become more alcoholic. The caffeine amount is reduced but is still slight, as are the sugars. When brewed too long it can become vinegar and used as a tonic.
It is potent. Best to start with a cup a day. Home brew is stronger as far as the bacteria in it because it is not pasteurized.
Bottle Options: Bottles should be pressure rated. These can be purchased from a brew supply store. Swing top, stout, and boston rounds are common bottles. Capped bottles should have a rubber insert for a better seal. Avoid decorative bottles, they are more likely to explode.
Avoid the use of Vinegar: There are some methods that call for vinegar. Vinegar can cause vinegar eels and should not be used with kombucha.
Avoid Prolonged Contact with Metal: Using metal utensils is generally fine, but avoid fermenting or bottling the kombucha in anything that brings them into contact with metal. Metals, especially reactive metals like aluminum, can give the kombucha a metallic flavor and weaken the scoby over time.
Burping the Bottles: Burping can ensure the bottles do not explode, but it can also flatten the kombucha. Only burp when necessary, and only burp once the brew has cooled. Burping while it is at room temp can make a fizzy mess, so only open bottles when kombucha is chilled.
Mold: Mold will usually happen during F1. It looks like mold found on cheese, bread, etc- will be fuzzy, and on the surface, and floating. Typically shaped in circles. Avoid mold by leaving alone the brew (do not mess with it) and using enough starter tea so the pH will drop low enough to make the brew inhospitable for pathogens. Do not refrigerate brew as the yeast becomes dormant, allowing mold to grow. (under 65 degrees) Spots, opaque and clear circles floating, or stringy dark brown pieces are all normal. Mold is rare, but if it happens, toss the whole brew and start over.
Cleaning: For the brew vessel, you can just put the new brew in, no need to clean. To clean the bottle- use boiling water. If using soap, be sure it is antibacterial. Rinse bottles with a little kombucha.
A small SCOBY may grow in the bottles of finished kombucha. These are edible, you can eat them or throw them out. They shouldn’t be used to make another brew though since they have been in flavorings. You may also see sediment at the bottom of your finished brews from the yeast. This is also very normal.
TROUBLESHOOTING
Kombucha will start off with a neutral aroma and then smell progressively more vinegary as brewing progresses. If it starts to smell cheesy, rotten, or otherwise unpleasant, this is a sign that something has gone wrong. If you see no signs of mold on the scoby, discard the liquid and begin again with fresh tea. If you do see signs of mold, discard both the scoby and the liquid and begin again with new ingredients.
A scoby will last a very long time, but it's not indestructible. If the scoby becomes black, that is a sign that it has passed its lifespan. If it develops green or black mold, it is has become infected. In both of these cases, throw away the scoby and begin again.
To prolong the life and maintain the health of your scoby, stick to the ratio of sugar, tea, starter tea, and water outlined in the recipe. You should also peel off the bottom (oldest) layer every few batches. This can be discarded, composted, used to start a new batch of kombucha, or given to a friend to start their own. Scobys can also be used to make yogurt, dehydrated for leather strips, used to make soap, the possibilities are endless!
Resources
Ferment By Holly Davis
The Big Book of Kombucha By Crum and LaGory
www.kombuchakamp.com

Natural Dyed Easter Eggs
A twist on the fun tradition, using all natural items.
This post may contain some affiliate links. For more information, visit my disclosure page.
Easter is on the way, and with Easter comes the traditional egg dying. Where did the whole egg thing come from in the first place, and why are bunnies laying eggs? Although Easter is a Christian holiday, the custom of Easter Eggs most likely originated from Paganism. Paganism celebrates the return of spring, and it’s victory over winter in a custom called Easter Fire. Both the egg and rabbit are both Pagan symbols of fertility. Ancient rituals of coloring and eating eggs during Spring Festival is also outlined in ancient Pagan, Egyptian, and Persian traditions. The Church adopted the observance into the Easter ceremonies and to the resurrection.
Where ever the tradition of egg dying came from, it is still enjoyable none-the-less, and a fun experimental science experiment to enjoy with or without kids! I tend to enjoy the aesthetic of natural colors, so a few years ago I decided to take hand at dying eggs with natural resources. Traditionally, the use of dyes were all made from nature, and my son and I set off to find which herbs and plants create vibrant colors. Full disclosure, these pictures were taken 4 years ago, and are not the best quality!
Let’s get to dying eggs! First you need to make all the dyes.

The ingredients for making natural dye. Yellow onion peel, beets, coffee grounds, turmeric, and purple cabbage.
What you’ll need:
Panty hose
Rubber bands or yarn
Leaves, flowers, and feathers
5-6 yellow onion peels
1/8 C turmeric
2 beets
1/2 purple cabbage
3 C brewed coffee
White vinegar
5 bowls- I used Tupperware with lids to reduce the possibility of spills.

Ready on the stove- preparing the dyes.
Make the Dyes
Yellow:
1/8 C turmeric
3 C water
1 Tb vinegar
Combine all the ingredients and heat on the stove until blended, about 5 minutes. Transfer into a bowl.
Purple:
2 beets, chopped
3 C water
1 Tb vinegar
Combine all the ingredients and heat to boiling, simmer for 30 minutes until the water becomes deep purple-red. Strain into a bowl.
Blue:
1/2 purple cabbage, chopped
3 C water
1 Tb vinegar
Combine all the ingredients and heat to boiling, simmer for 30 minutes until the water becomes deep purple. Strain into a bowl. When the eggs are placed and set in the dye, they turn blue.

Completed dyes- turmeric, coffee, beet, cabbage, and yellow onion peels.
Rust:
Peels of 5-6 onions
3 C water
1 Tb vinegar
Combine all the ingredients and heat to boiling, simmer for 30 minutes until the water becomes a deep brown. Strain into a bowl.
Brown:
3 C brewed coffee (1 Tb ground coffee beans plus 3 C water)
1 Tb vinegar
Brew coffee as normal- or combine ground coffee beans and water on the stove and heat for about 5 minutes, add in vinegar. Transfer or strain into a bowl.
While the dyes cool, you can prepare the eggs.
Preparing the Eggs

All of the foraged items to decorate the eggs with.
Next it is time to prepare the eggs. Forage for anything from nature. We found leaves, flowers, and even some feathers.
My son enjoyed this part, and excitedly found most of the items we used.

All of the eggs ready for dye.
Time to prepare the eggs to dye. First decide- blow, hard boil, or leave raw? I like to leave them raw. Over time, the inside of the egg eventually dries up, and you could potentially keep these beauties forever! Just keep in mind they are a little more fragile when they are not cooked. Blowing out the inside by making two pinholes also preserves them, but you risk potentially damaging them, plus they float while you’re trying to dye them. Boiling them is a great option if you plan to eat them later! They make beautiful decor at a spring set table.
Cut the panty hose into small pieces, large enough to stretch over an egg. Place a 1-2 of the foraged items around the egg, and then tightly stretch the panty hose around the egg. Tie it closed with either a rubber band or a piece of yarn. Repeat with all of the eggs, see what designs you can create! I used a mix of some brown eggs with white to make different color combinations with the dye.
Aren’t they cute?? I almost wished I could just leave them like this!

So cute! Wrapped and ready.

Finally dye time!
Dunk each egg into the dye, if you used Tupperware, close it off with a lid. Natural dyes take longer to become a deep, dark, color, so let them sit from 1 hour up to 24 depending how dark you want the colors. I let mine sit about 3 hours.
Once they’ve sat, carefully take them out and cut open the panty hose. Rinse with water, and enjoy your beautiful creations! Which was your favorite? Mine was the vibrant rust of the onion peel, and the bright blue from the cabbage!

Clockwise from the top: Coffee, cabbage, cabbage, turmeric, onion peel, beets, onion peels.


Vegan Chocolate Mushroom Pudding
Delicious vegan chocolate pudding featuring Reishi mushroom.
This post may contain some affiliate links. For more information, visit my disclosure page.
Do you just NEED a nightcap to end the night? Something about ending the night with a sweet and warm treat helps to calm and relax my soul, and get ready to turn in for the night. I also have a tendency for emergency chocolate cravings, so I am always pleased to have a few go-to recipes for single serve desserts.
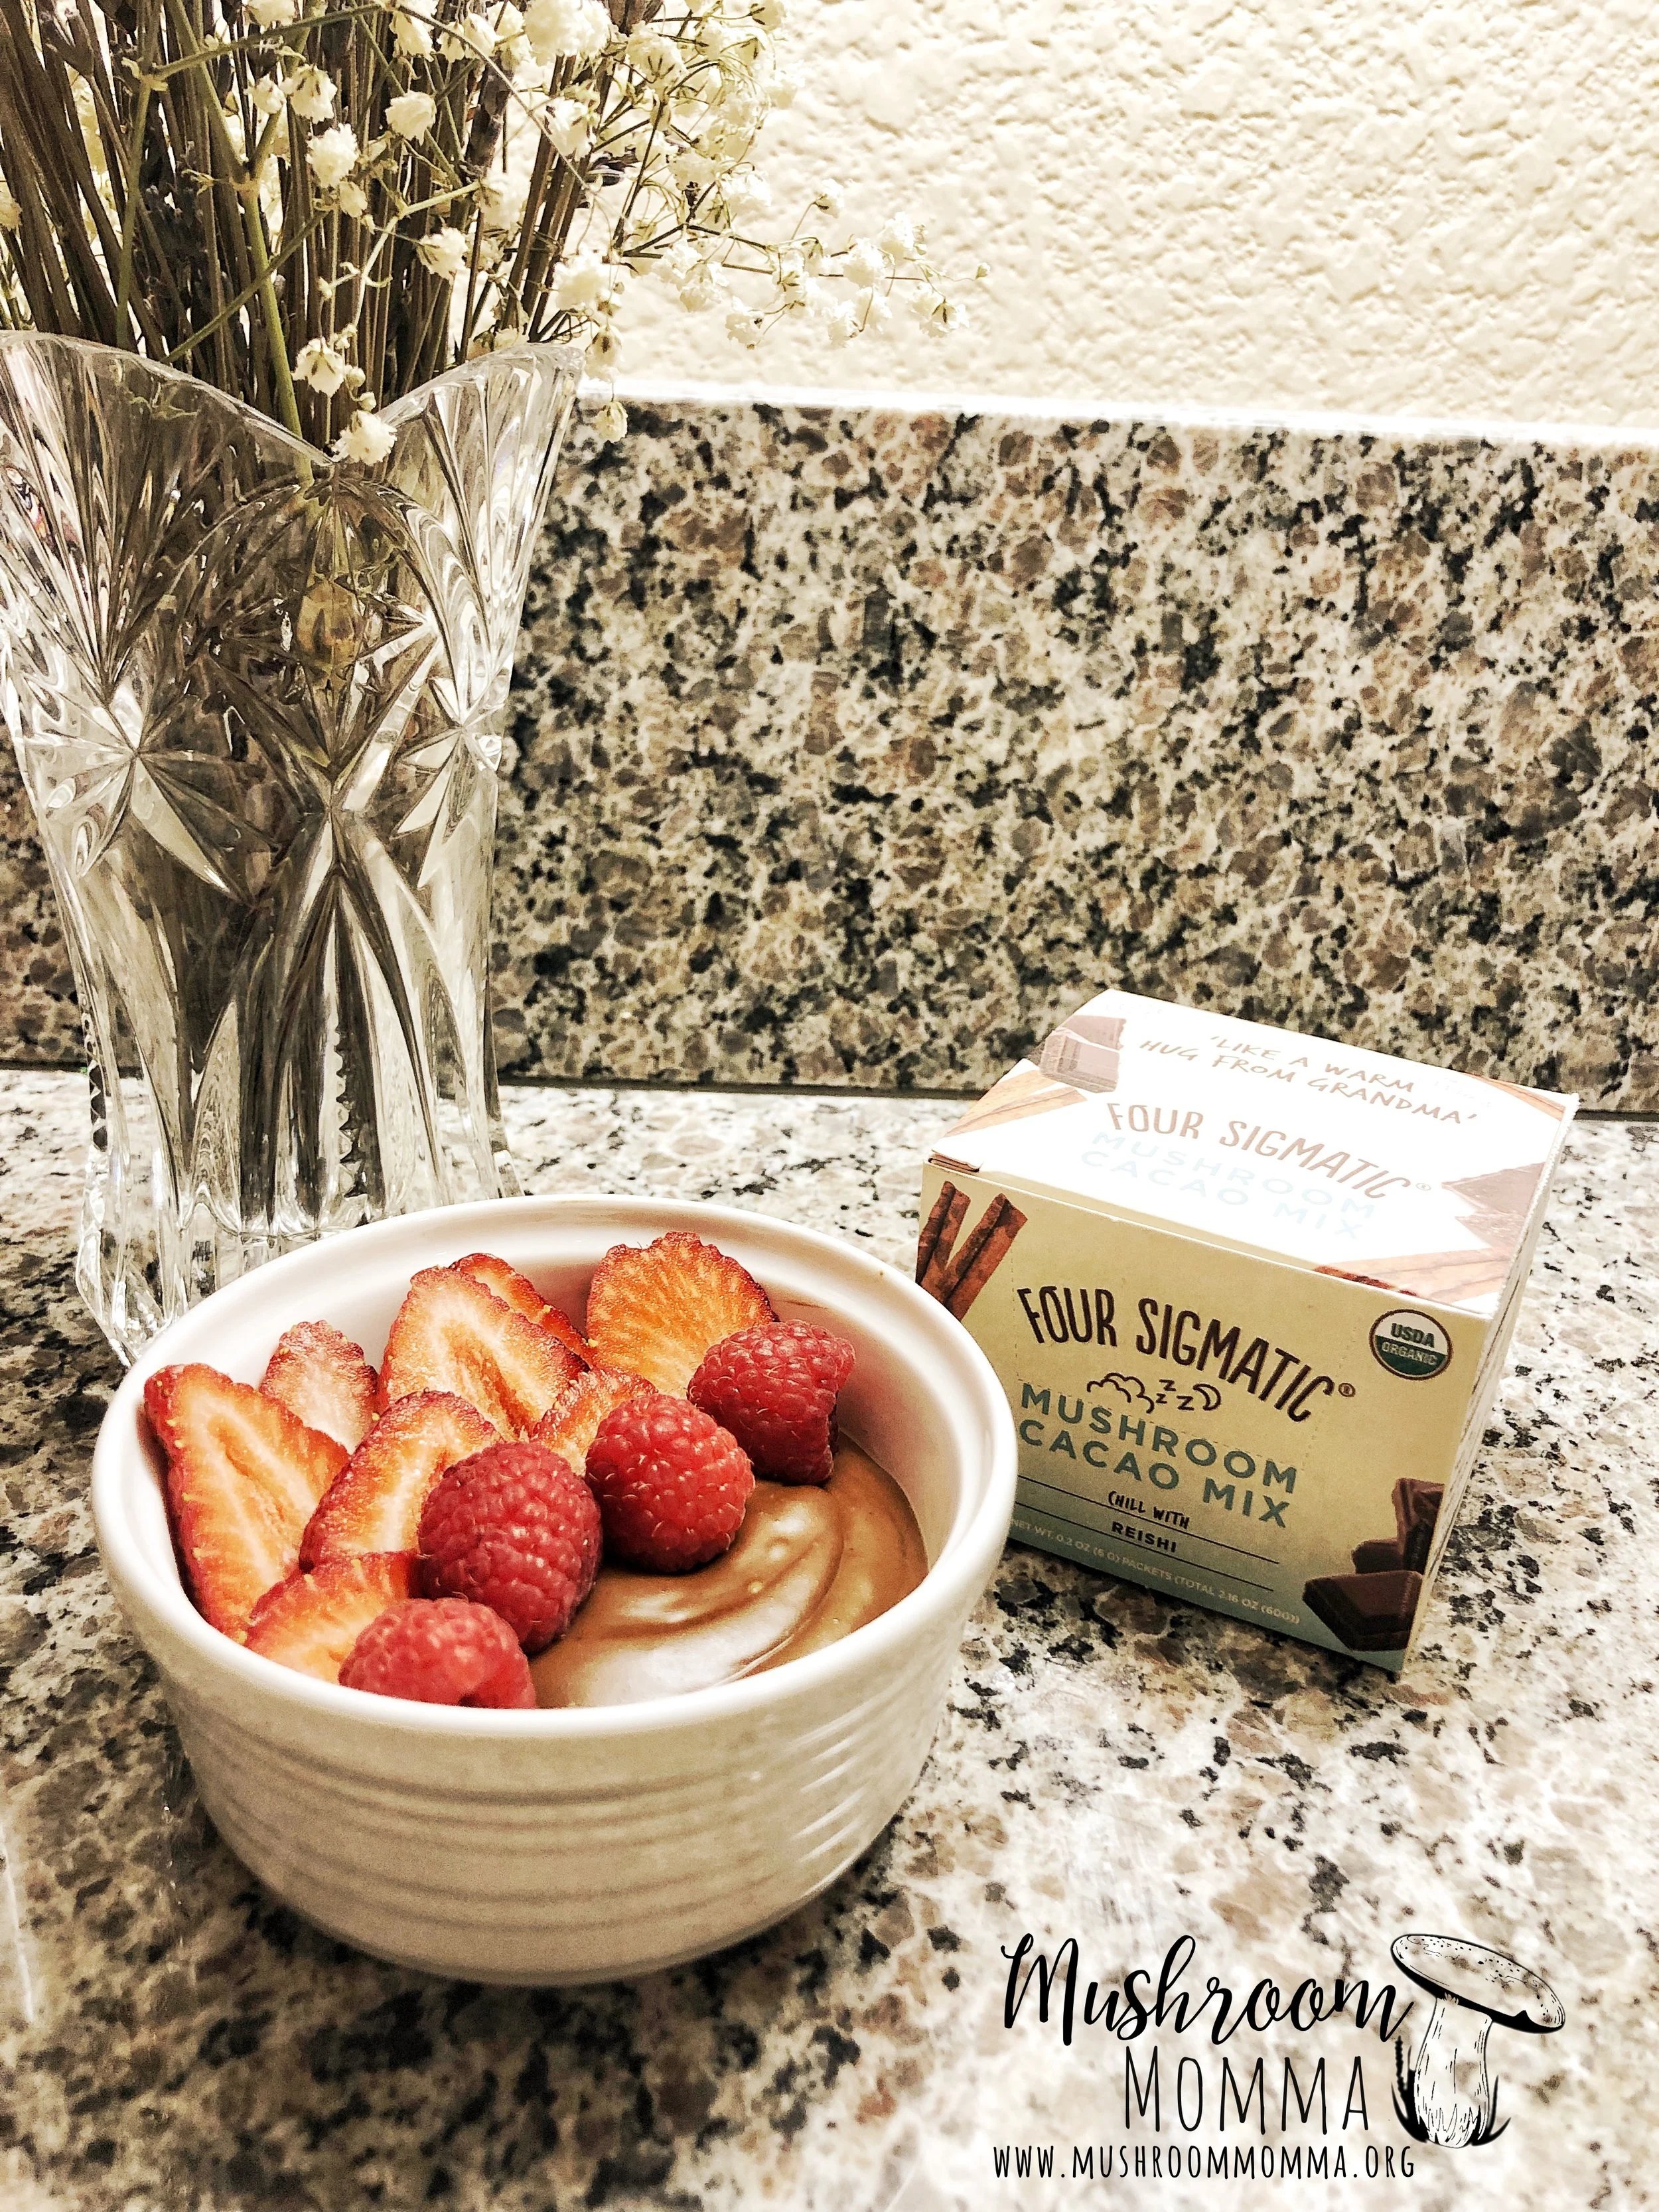
This is perfect for when those cravings hit, and it only takes about 5 minutes to make! It also has the added health benefit of Reishi mushroom from Four Sigmatic and is sugar free, which means you don’t feel guilty while enjoying it! It’s a win all around in my book!

Reishi (Ganoderma lucidum) is the Queen of Mushrooms and one of my favorites. It has been long used in Traditional Chinese Medicine, and today it is a known adaptogen which means it helps reduce stress. It can also help support sleep quality, and even has antihistamine properties to calm asthma and allergen responses. Like most must medicinal mushrooms, it is antibacterial and anti microbial and can also support liver function. It promotes healthy immune response against viral, bacterial, and fungal infections and suppresses excessive or chronic inflammation that threatens long-term health. Some studies have even suggested Reishi may restore youthful immunity and add 7-16 years to the human lifespan! It is a very grounding mushroom and can bring calm, so my favorite time to consume this medicinal mushroom is at night. Another side effect I have personally found when consuming Reishi, is more vivid and memorable dreams.
Reishi Chocolate Pudding
Ingredients:
1 C Almond Milk (or milk of choice)
1/8 teaspoon salt
1/4 C maple syrup
1 packet of Four Sigmatic Reishi Cacao
1 Tablespoon corn starch
1/4 C dark chocolate chips
Put salt, milk, maple syrup, and Reishi cacao packet in a sauce pan. Leave a little milk out and mix it with the corn starch. Add corn starch mix to the sauce pan and heat low-medium until bubbling. Stir in the chocolate chips, stir until melted. Pour into a bowl and placein the fridge and serve cooled, or serve warm (my preference!)
Top with toppings such as strawberries, blueberries, coconut, or cacao nibs.
Enjoy!
Click here to order Four Sigmatic Reishi Cacao!

Order your Mushroom Cacao from Four Sigmatic Here! http://fbuy.me/lOPE_
Further reading on Reishi https://www.lifeextension.com/magazine/2012/ss/epidemic-immunosenescence/page-01

Mushroom Momma, Why Mushrooms?
I am on a conquest, just like the mushrooms, to connect. To heal, and to grow, from every situation or path. Come explore what being a mushroom momma means to me!
Mushrooms are the new black. Mushrooms are one of the most underrated species on our planet, but are quickly gaining popularity and superfood status. When most people hear about mushrooms, they think of the button kind to cook with, or the magical kind. There is a whole world of mushrooms used for medicinal properties. Mushrooms can promote your own health, by strengthening your immune system to prevent debilitating diseases. They have long been used in Traditional Chinese Medicine, in fact Reishi mushroom is listed as one of the most effective Chinese herbs, and in fact, has even been officially listed as cancer treatment by the Japanese government. This is just one example of how powerful mushrooms can be. Contrary to popular belief, they are not a plant, but are in their own kingdom, fungus. Did you know we share more DNA with mushrooms than we do with plants? We share 30%-50% of their DNA! This is because we are part of the same “super Kingdom”, and is the reason we can use medicine from fungi better than from other things. There are over 1.5 million varieties, 6 times more varieties than plants. It is even said that mushrooms are one of the first organisms to move from sea to land. These strange, living, fungi grow all around, in the ground, to the trees, even on insects. In fact they have a web that spreads across our globe, connecting all living things, called the mycelium. I am on a conquest, just like the mushrooms, to connect. To heal, and to grow, from every situation or path. Come explore what being a mushroom momma means to me!


Karma and Gratitude, What is it Really?
Karma. The most recognized buddhist term. If you're good, good things happen, and if you’re bad, bad things happen, right? Well, not exactly. The true meaning of karma is actually much simpler than that. If you do something, something will happen. That’s it. How can this be applied to gratitude?
Karma. The most recognized buddhist term. If you're good, good things happen, and if you’re bad, bad things happen, right? Well, not exactly. The true meaning of karma is actually much simpler than that. If you do something, something will happen. That’s it. We add definitions and meaning to things being “good” or “bad”, but really its understanding that when you act, there will be a result. Cause and effect.
It sounds easy enough. But what is that action motivated by? If we act motivated by greed, hatred, or delusion, we are planting the seed of suffering; when our acts are motivated by generosity, love, or wisdom, then we are creating the karmic conditions for abundance and happiness. When we understand what karma is, we can see the enormous responsibility we have to become conscious of the intentions that precede our actions. If we are unaware of the motives in our minds, we may unmindfully act on them and thus create the conditions for future suffering.
To me, this is aligned with having empathy. When you have empathy, you are aware that other people have feelings and emotions, so much so you feel them, too. With this, an empathetic person is careful not to let their own actions affect others. The older I’ve gotten, the more empathetic I’ve become, especially after having Dedric. So much so, that I can sit and contemplate conversations, or even just negative words I’ve said YEARS ago and wonder how it possibly affected that person. If you've had a conversation with me, I probably thought it over for the rest of the day and wonder how my words were portrayed. Yes, even the smallest conversation I do this.
So even though the meaning of Karma is as simple as every action has a result, why are so many ignorant to their actions? We are all connected. All those little interactions to the big profound ones. You can make or break a person’s day by your actions. So why aren’t we more aware of this? That our individual actions, affect more than ourselves? This is the real karma.
Today I am grateful for my growth. For my deep understanding of others. For my empathetic nature, even when its my downfall, will always be a trait of mine I am proud of. I am grateful for finding Montessori, because it teaches empathy and awareness at such a foundational age. I get to teach empathy authentically, even to the youngest members, my toddlers. They understand when someone is hurt or sad, and a group will eagerly run to get a tissue for their friend. What happens as we grow, that we loose this? I am so grateful I understand this lesson, and am grateful I get to be around the most authentic little humans everyday. What an honor it is.